So you can already wear a yukata — and now you’re curious about the kimono. But it looks so much more complicated, doesn’t it?
Honestly? A kimono does have a few more steps than a yukata. But only a few. You add one layer (the nagajuban) and you shape a soft fold of fabric called the ohashori. That’s really the heart of the difference — everything else follows the same logic you already know.
In this guide, I’ll walk you through dressing yourself — entirely on your own — in a casual, everyday kimono like a komon or tsumugi, smoothing out every spot where beginners tend to get stuck. We’ll save dressier styles for another day, since those change quite a bit. Today, let’s aim for one thing: a kimono you can slip into and feel lovely walking out the door in. Take a breath — here we go.
What You’ll Need
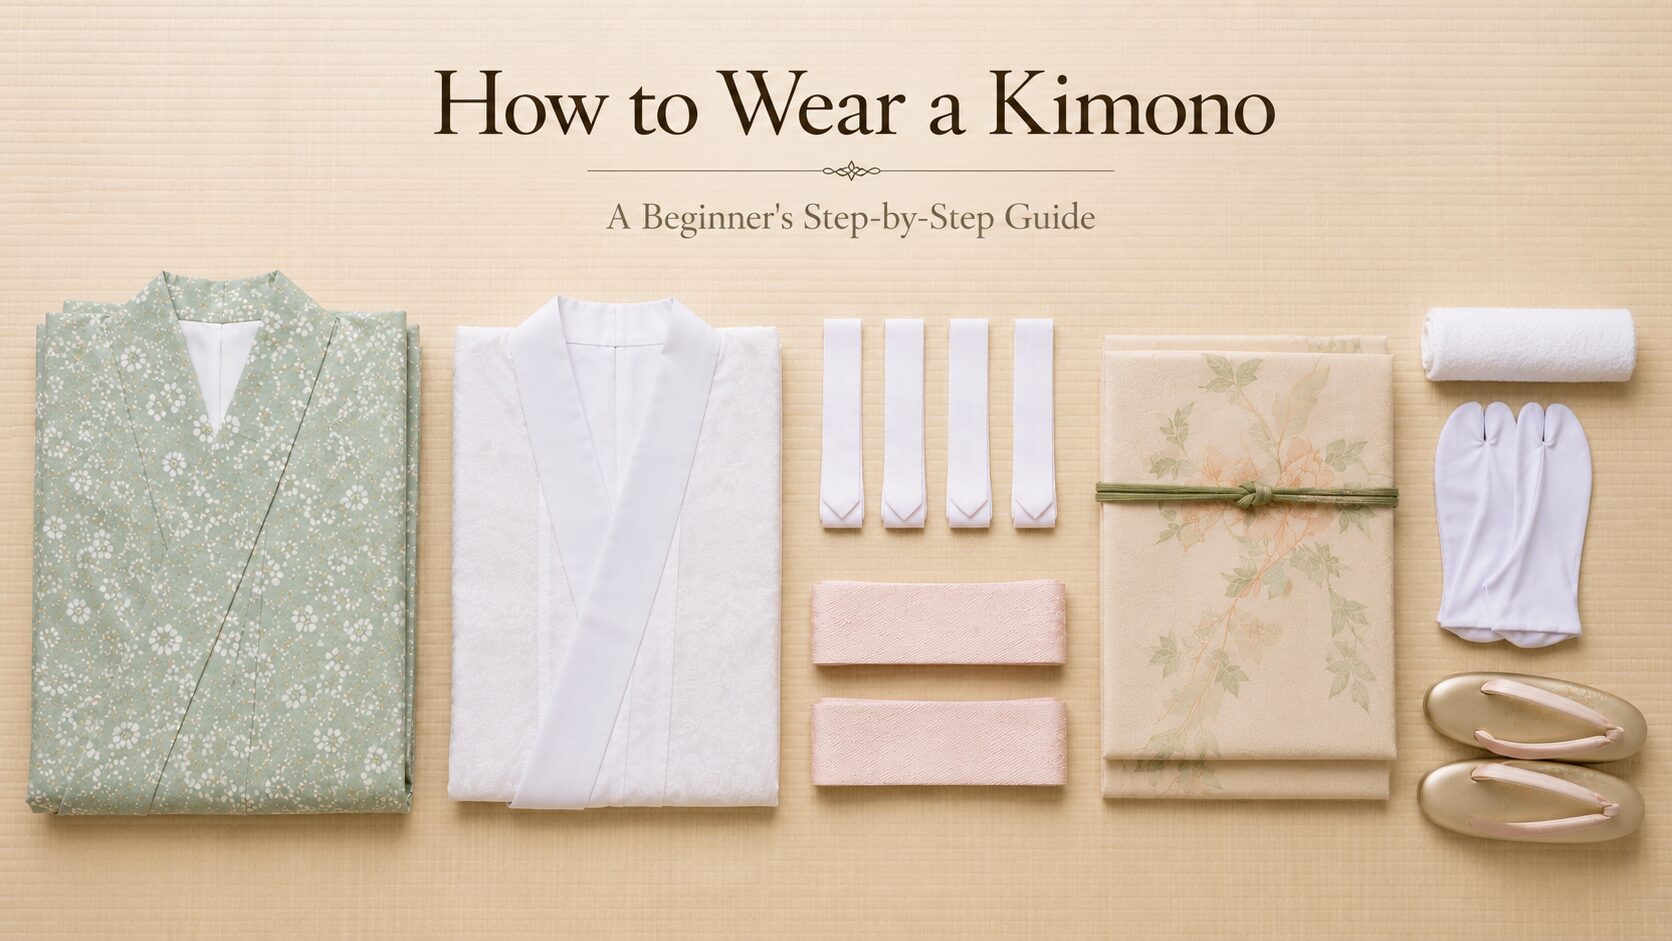
Besides the kimono itself, here’s everything to gather.
- Hadagi — a kimono slip (or a hadajuban + susoyoke set) worn closest to your skin
- Nagajuban (長襦袢) — the under-kimono whose collar peeks out at your neckline
- A collar stiffener (eri-shin) — slipped into the nagajuban collar to keep it crisp
- Koshihimo (腰紐) × 3–4 — thin cloth ties; these are your lifeline against coming undone
- Datejime (伊達締め) × 2 — wider sashes that lock the cords in place
- An obi and its small accessories (obi pillow, obi-age, obi-jime)
- 1–2 face towels — for padding (more on this below — it quietly makes all the difference)
- Tabi socks and zori sandals
It looks like a lot, I know — but every piece earns its place. Once you’ve got the hang of it, you’ll be fully dressed in about 15 minutes.
Step 1: Underlayers & Smoothing Your Silhouette
Start with your hadagi — the layer that absorbs perspiration and protects your kimono.
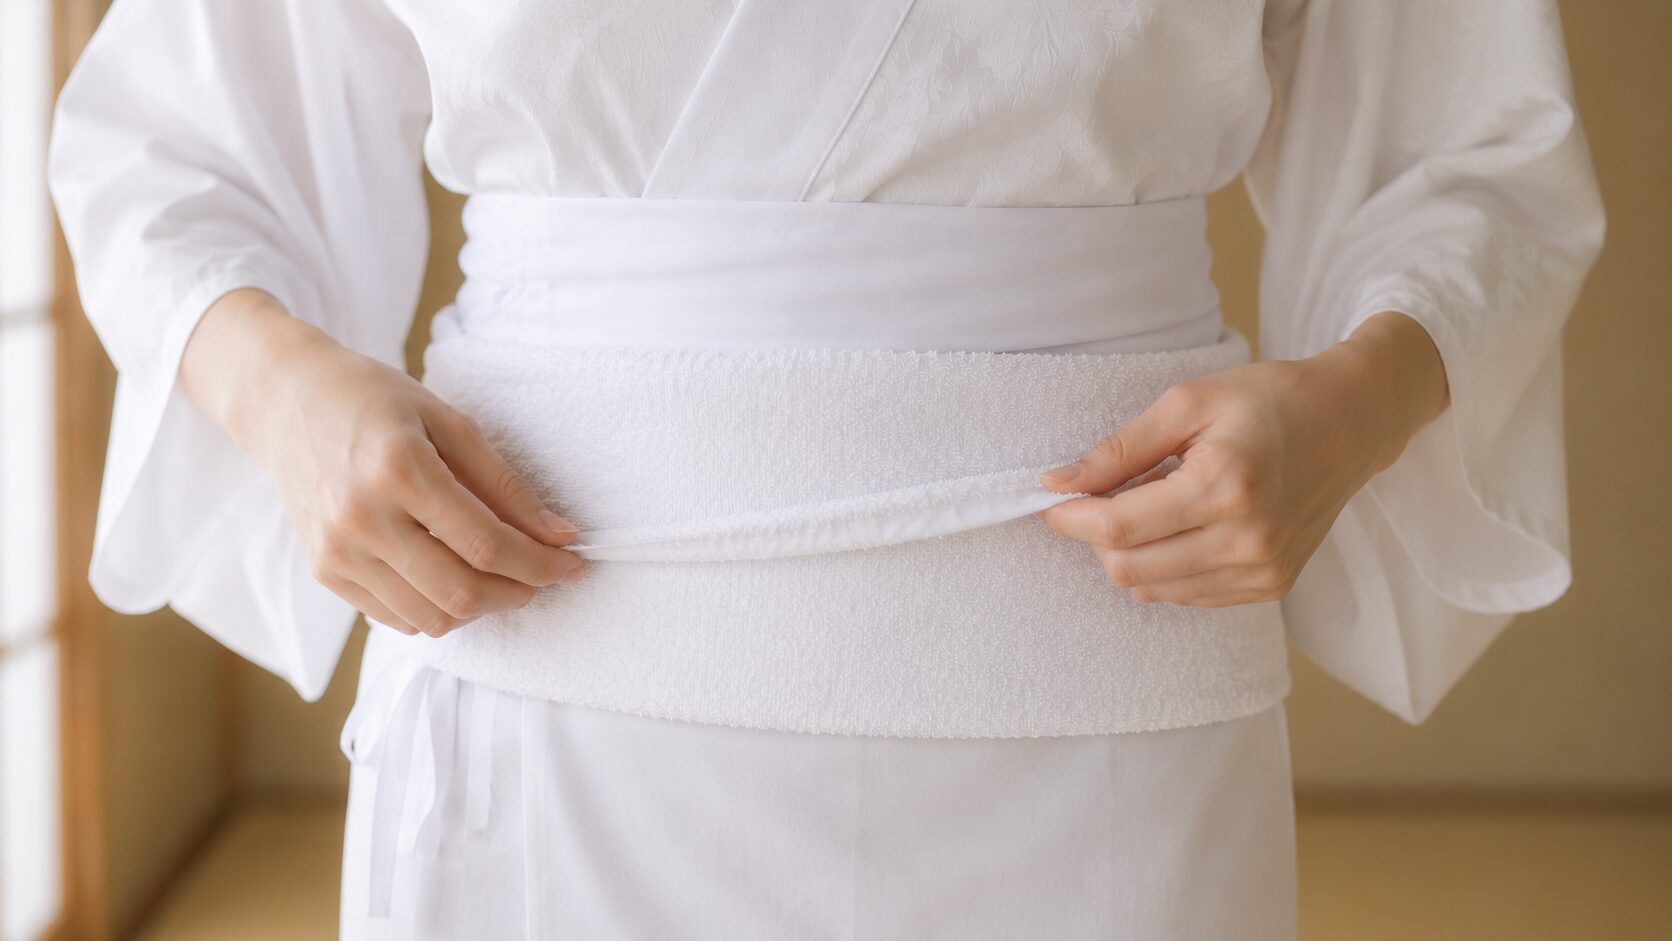
Here’s a tip especially for those of us who didn’t grow up wearing kimono. A kimono looks its best over a smooth, almost cylindrical shape. Western clothing celebrates a defined waist and curves; the kimono does the opposite. The greater the difference between a narrow waist and fuller hips, the more easily the kimono shifts out of place.
That’s where the face towel comes in. Wrap a thin towel around the dip of your waist to gently even your torso into a smooth column. This one small step dramatically improves both how polished you look and how well everything stays put.
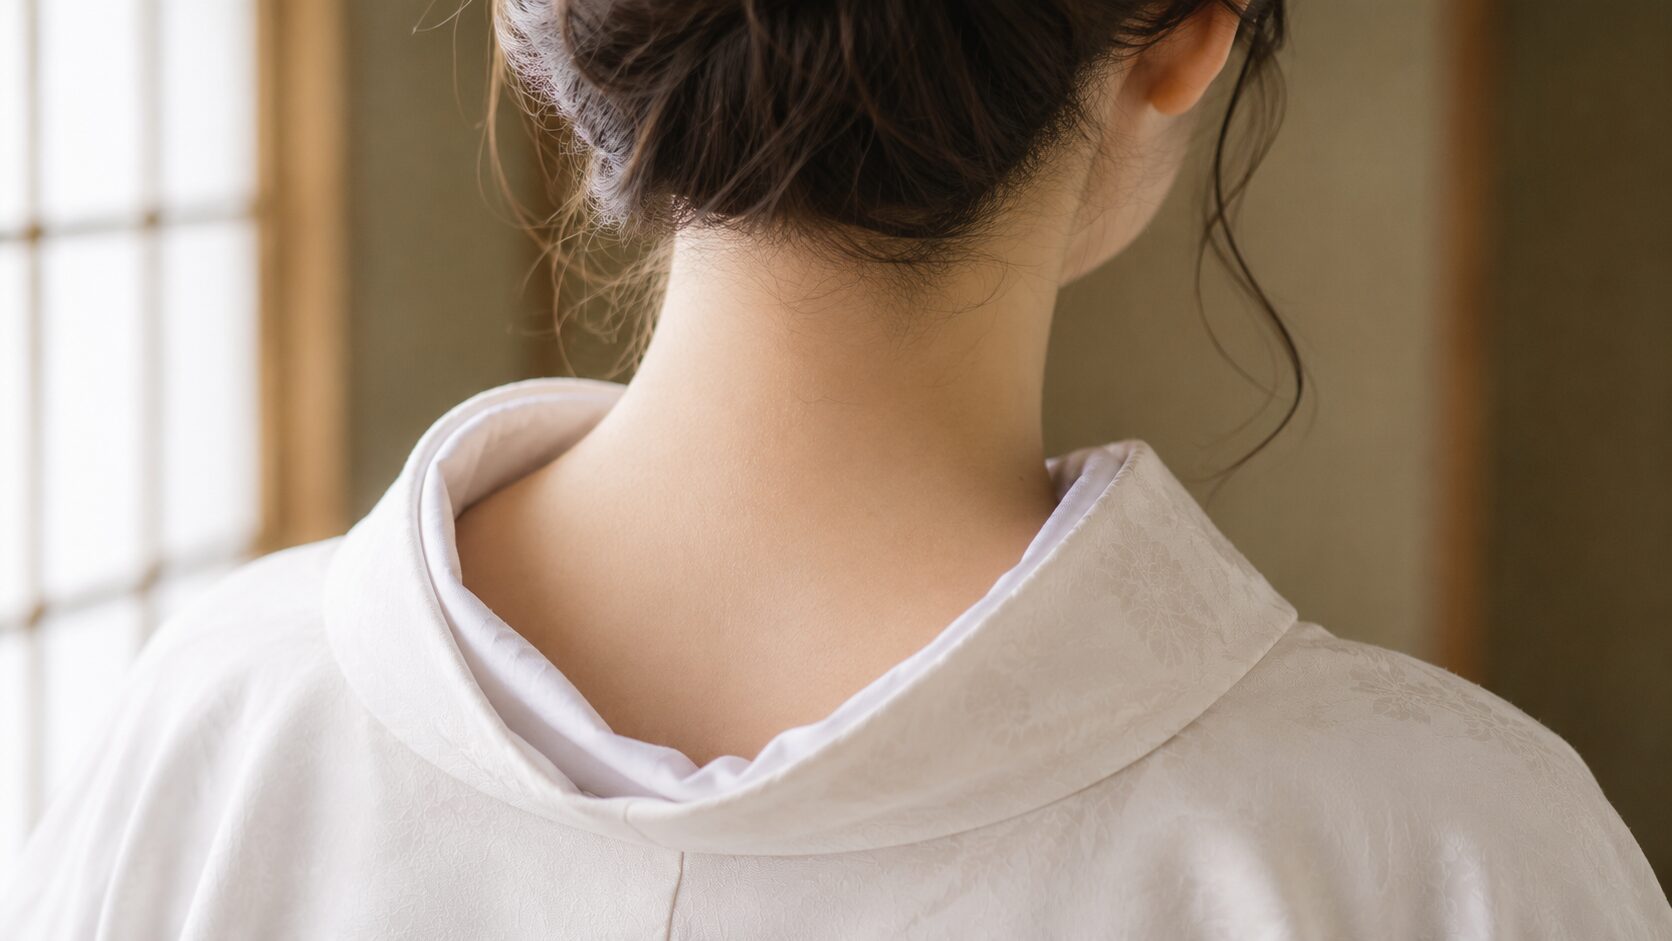
Next, the nagajuban. Two things matter here.
First, insert the collar stiffener. Slipping a stiffener into the nagajuban collar keeps your neckline crisp — without it, even a beautiful kimono can start to look a little sloppy.
Second, pull the collar back to create the emon (衣紋). Draw the collar back at the nape so a little of the neck shows — about three fingers’ width is the classic guide. This is a point of Japanese aesthetics: it creates the graceful, elegant neckline that has long been considered beautiful.
Step 2: Putting On the Kimono — The Most Important Rule
Now, slip your arms into the kimono and line up the center back seam so it sits at the middle of your back.
For length, the hem should just cover your ankles. Brushing the floor looks beautiful, but a touch shorter is easier to walk in — perfectly fine for your first time.
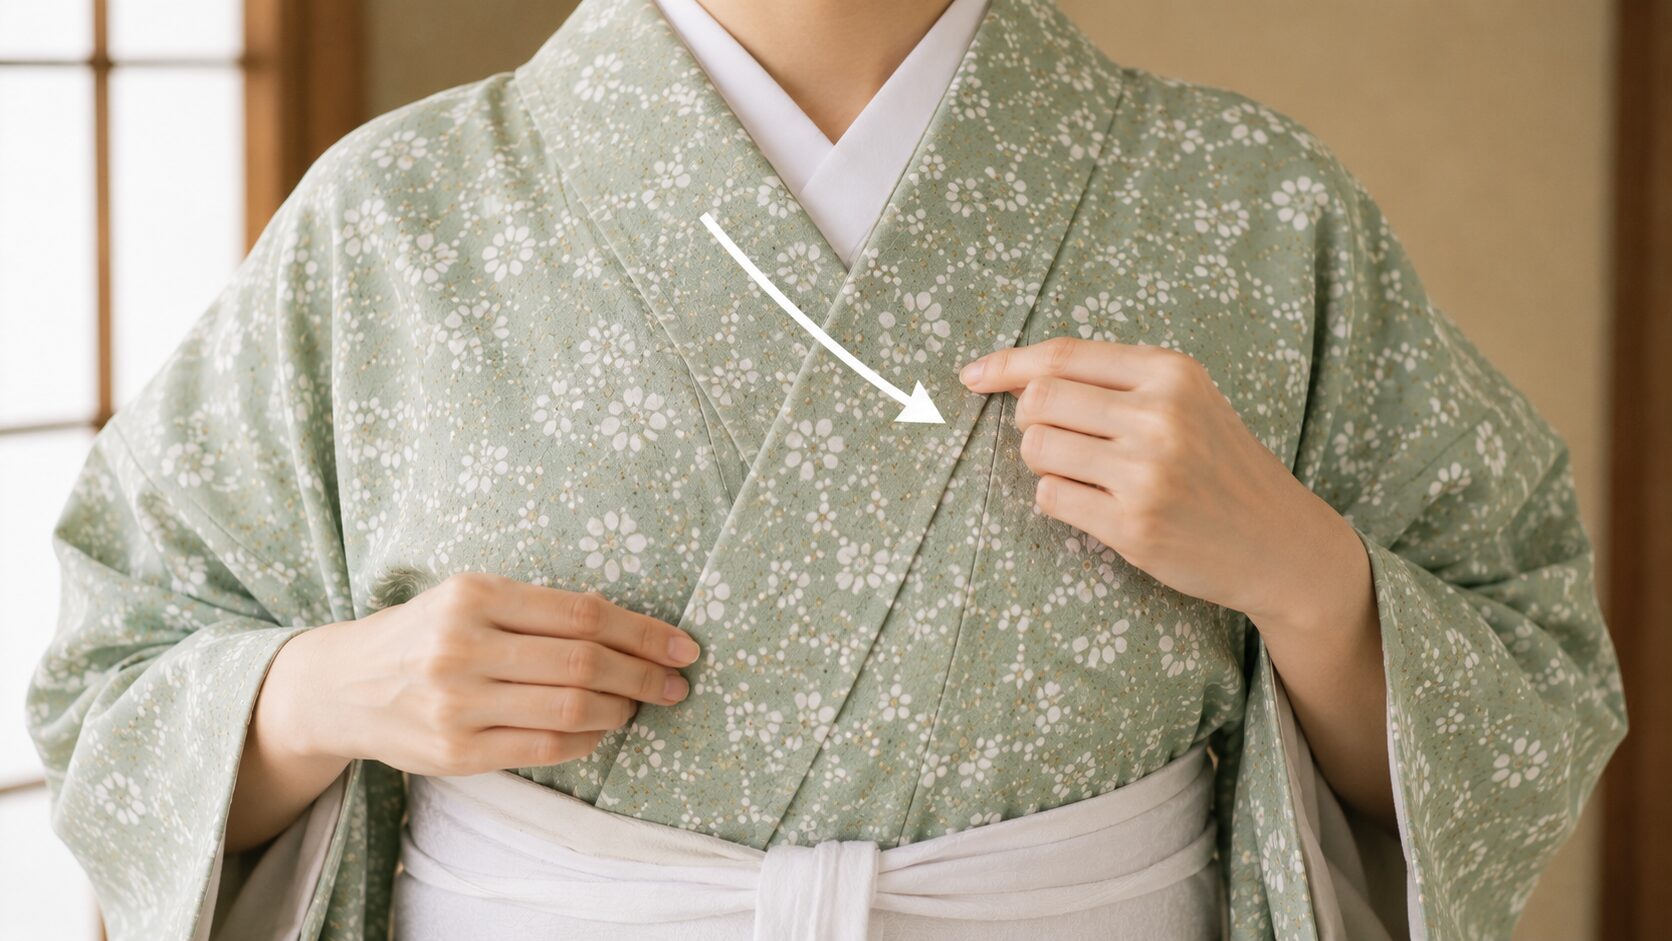
And now — the single most important rule in this entire guide.
Why does this matter so much? Because the reverse — right over left — is how a kimono is wrapped on someone who has passed away. It’s one of the most important kimono rules there is. Mirrors make left and right confusing, so here’s a body-memory trick: wrap it so your right hand slips easily into the fold against your chest. That direction is always correct.
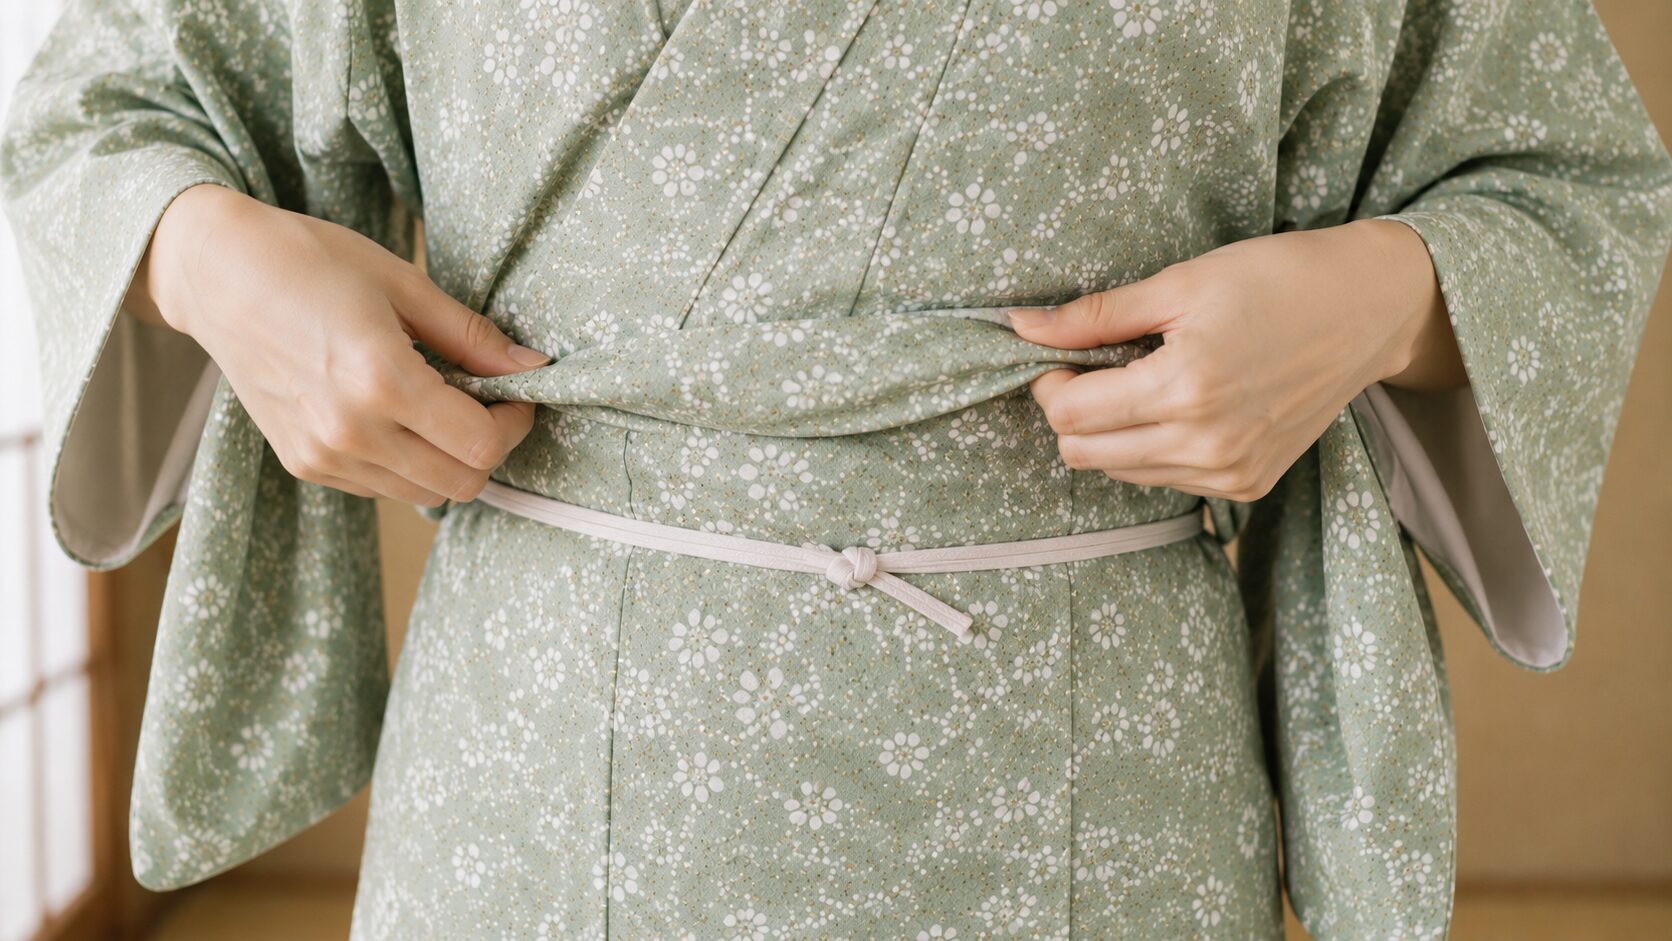
Step 3: Make the Ohashori & Tie the Cords
A kimono is made longer than your height on purpose. You fold that extra length up at the waist to create a tuck of fabric — this is the ohashori (おはしょり). Yukata have one too, but with a kimono a clean ohashori matters even more.
Here’s how. Tie one koshihimo firmly at your waist, smooth the excess fabric down over it, and adjust so about 2–3 inches (5–8 cm) of ohashori shows below where your obi will sit. The exact length varies with the kimono and your body, so use that range as a guide and tuck away anything too long.
Once your collar is neat, tie a datejime over everything to hold it. This is the foundation of your whole kimono — and if it feels stable now, before the obi even goes on, you’re honestly 90% of the way there.
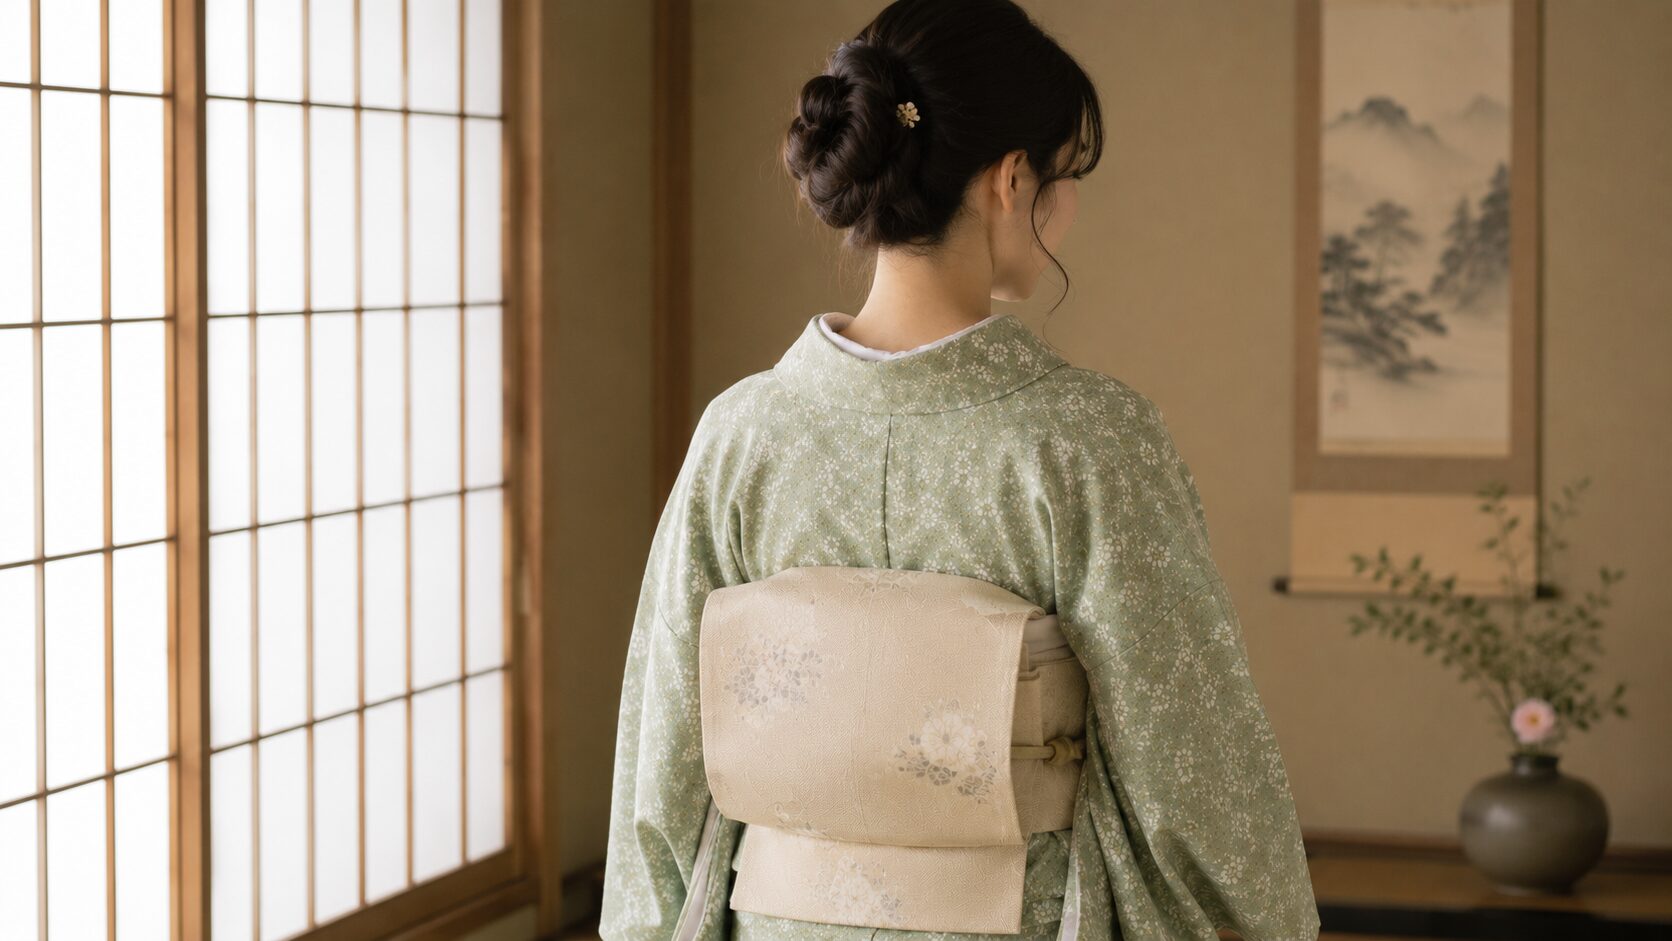
Step 4: Tying the Obi
Last, the obi. This is the part beginners brace themselves for — but relax.
For everyday wear, a hanhaba obi (a slim, half-width obi) is easy and ties simply — a bunko knot, close to a bow, is a common one, and it’s often what comes in a beginner’s set. That said, plenty of casual kimono are also worn with a Nagoya obi in the classic otaiko (drum) knot — a neat square shape on your back — and it’s not just for the advanced. It uses an obi pillow and obi-age, so there are a few more steps, but learn it once and it’s yours for life.
Either is a fine place to start; go with whichever came in your set.
Common Mistakes to Avoid
Let’s head off the slip-ups beginners run into most often, before they happen.
- Wrapping right over left — the one to never get wrong. Always left over right.
- Forgetting the emon — a collar snug against your neck looks stiff. Draw it back slightly.
- An ohashori too long or too short — aim for 2–3 inches (5–8 cm) below the obi.
- Loose koshihimo — if these are loose, you’ll come undone over the day. “A touch tight” is just right.
- Skipping the padding — leaving your waist curve as-is makes things shift. One towel transforms the result.
- Saving your tabi for last — once you’re in your kimono, bending over is hard. Tabi go on first.

Frequently Asked Questions
- Kimono or yukata — which should I try first?
- The yukata, every time. With no nagajuban, it’s simpler — and if you can already wear one, the kimono is just one step away. (See Yukata vs Kimono.)
- Can I really learn to do this myself?
- You can. It’s normal to spend 40–60 minutes the very first time, but after a few practice sessions you’ll be dressing yourself comfortably. No rush at all.
- Can I rent a kimono to try one first?
- Absolutely — renting is a lovely way to experience wearing one before you commit. My Kyoto kimono rental guide walks you through how it works.
- Is it strange to go out in a casual kimono?
- Not at all — quite the opposite. Casual kimono like komon are everyday wear, perfect for tea, a stroll, or a relaxed day out.